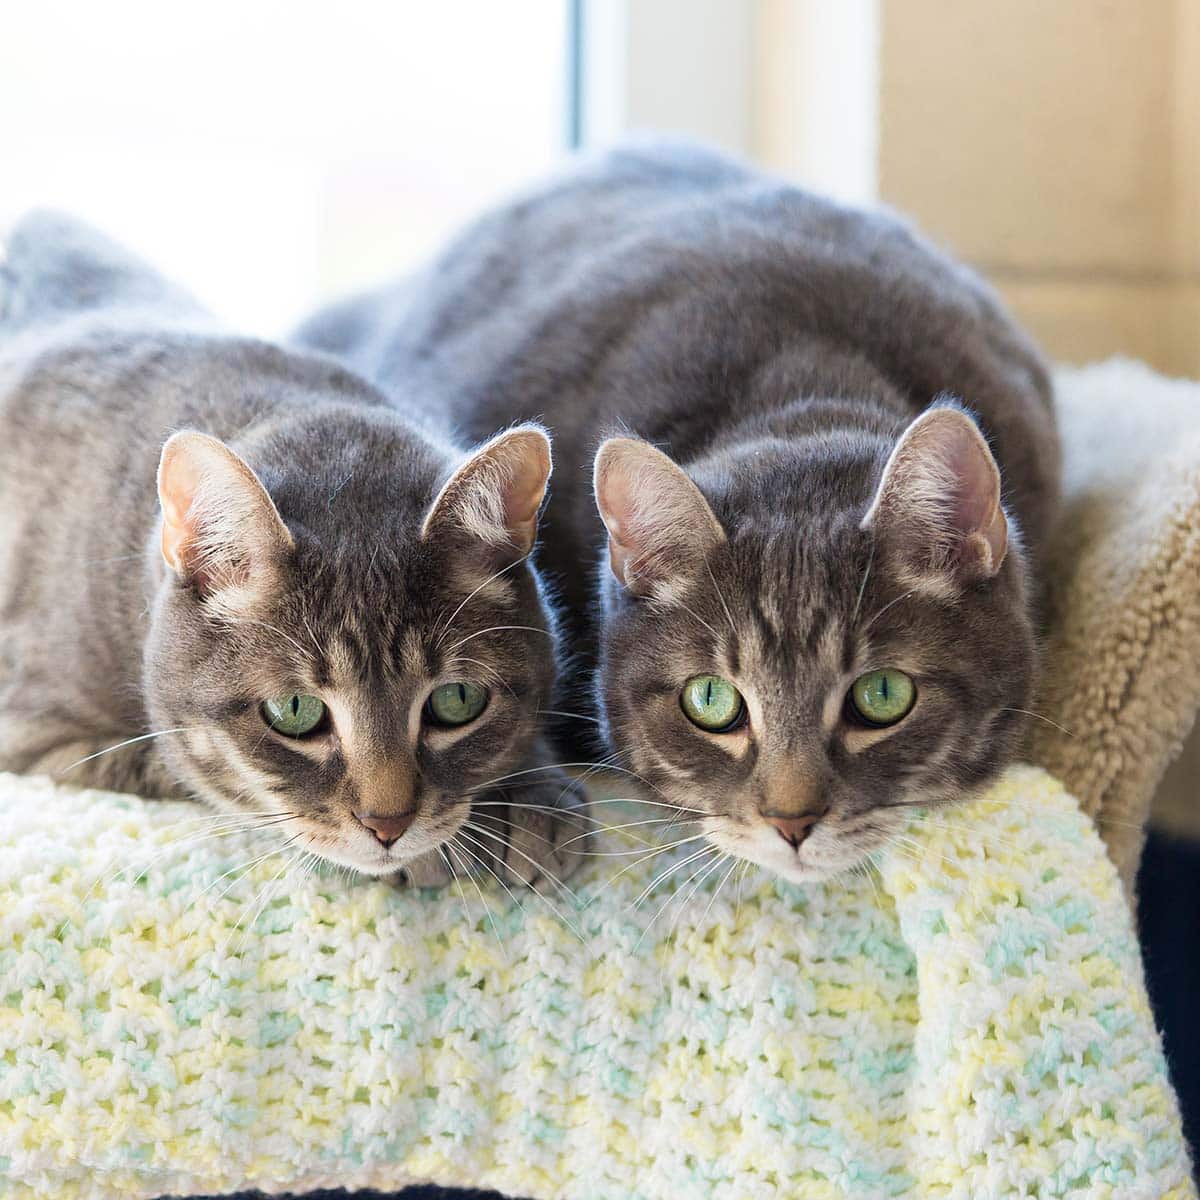
My cat stopped using her litterbox. What can I do?
Inconsistent litter box usage or eliminating outside of the litter box is a common behavior seen in cats. Despite being a common behavior, it is not desirable. The two most common reasons why a cat stops using the litter box consistently are medical conditions and stress or anxiety. The first step to solving your cat’s litter box issues is to contact your veterinarian to discuss your concerns.
There are several medical conditions that lead to litter box issues such as urinary tract infections, diarrhea, and physical pain or injury. If the behavior continues once all medical issues have been ruled out, then the problem is likely behavioral.
Litter Box Set Up
First, check out our “Litter Box Success” information to ensure your set-up at home follows the suggested recommendations. Even if your cat previously used your current litter box set up, your cat’s preferences may have changed. There may also be an outside influence you are not aware of that is making your cat less comfortable with the current set-up. If your cat continues to urinate and/or defecate outside of their box after following our “Litter Box Success” information, then it could be other factors influencing your cat’s behavior.
Household Stress or Changes
Changes in the household or home environment (ex. having a baby, an adult child moves back home, shifting from remote to office work, remodeling, etc.) can cause cats to feel stressed, leading to inconsistent litter box usage. If a household change has occurred, make sure your cat has access to a separate, comfortable space with their litter box, food, and water. It might also be helpful to reintroduce them to the household slowly, one room at a time, as if you just brought them home for the first time. In some ways, these changes do make it feel like a “new” home to them. Slowly introducing your cat to these changes could help them feel more at ease.
Addition of a New Animal(s)
Adding a new pet to your home can be stressful for your resident cat. When bringing home a new animal, make sure to follow a slow and appropriate introduction process (see handouts on cat-dog and cat-cat introductions).
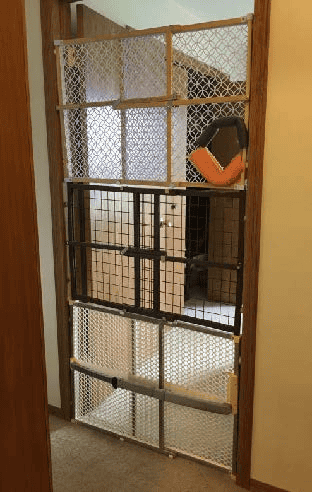
If you added a new dog to the household, ensure your cat has easy access to their litter box, food, and water without having to cross paths with the dog. Continue to provide this type of access even after the introduction process. We recommend installing baby gates that will allow your cat access to dog-free areas of the home. You can have the gates flush with the floor for your cat to jump over, or you can raise the gates 6-8 inches off the floor so they can scoot under. In addition, cats feel more comfortable at higher levels, like on a cat tree or counter. Consider creating areas throughout your home that are elevated and out of the dog’s reach, giving your cat plenty of safe spaces to perch.
If you are adding another cat to your family, provide them a second food and water bowl. Asking your cat to share resources with a new cat can cause tension and stress, even if it isn’t observable to us. By adding additional food and water bowls, you can eliminate the stress caused by sharing resources. Increasing the vertical space in your home is another way to reduce stress between cats. By utilizing cat trees or cat shelves, you are increasing the overall surface area the animals have access to. When animals have a larger space to share, they have more opportunities to separate from each other which will help reduce any tension or stress between them.
Unwanted Visitors Outside of Your Home
Some cats will become stressed at the sight of other cats outside and begin urinating by windows or doors. If this is case, block your cat’s sightlines to the outdoors. This could include closing shades/blinds, or covering the bottom half of windows and glass doors with cardboard or adhesive plastic coverings.
It will also be helpful to deter roaming cats from passing through your yard. Although it is not possible to 100% eliminate outdoor cats from using your yard as a hangout spot, there are several ways to deter this behavior including sprinklers or motion sensor lights. Do not use anything that could cause harm to the outdoor cats.
Cleaning Areas Where Your Cat Has Urinated/Defecated
Cats have a highly developed sense of smell and will continue to soil places where they (or another cat) have previously gone. It is very important to properly clean a soiled area with an enzymatic cleaner which is specifically designed for urine/feces. Other types of cleaners may appear to have done the job, as the smell will be undetectable by our human noses, however, a cat’s superior sense of smell will still be able to detect it. If the cat soiled a washable item, soak it in an enzymatic cleaner prior to washing and follow the cleaning product’s instructions. The Wisconsin Humane Society retail store carries Simple Solutions Stain and Order Remover, available for purchase online.
Litter Box Size
Cats come in all different sizes. Some are too big for standard sized litter boxes or simply prefer an extra large box. Others might aim high when urinating, resulting in urine spraying over the edge of the litter box and onto the floor. If size is an issue for your cat, consider making your own litter box using Rubbermaid containers. If you need a larger surface area, choose a container that has low sides and a large bottom. Generally, these containers are designed to slide under a bed for storage but also make a great litter box for extra-large cats. If your cat needs taller sides, choose a deep container and cut a hole in the side for your cat to easily enter and exit.
Relocating and Adding Litter Boxes
There are times when even though you have the appropriate number of litter boxes, adding additional boxes can be beneficial for your cat. This is important when you have a large home with multiple floors, multiple animals, or a cat who simply prefers access to extra boxes. Try adding more litter boxes to your home and monitor which boxes are being used. Over time if there is a box that is not being used, you can try removing it.
If your cat has chosen a new favorite place to urinate that is not in the litter box, adding a litter box in that location may be a solution. Over time if your cat is using that box consistently you can slowly move the box to a more convenient place in your home. Make sure to take your time and move the box gradually over several days or weeks.
Deterrents
If your cat has found a new favorite location (or several) to urinate/defecate outside of the litter box, it is helpful to use deterrents to reduce the likelihood of your cat using that location again. When choosing a deterrent, the goal is to simply make the location less appealing, not to cause any harm or stress to the cat.
- Use an upside-down carpet runner or aluminum foil to cover the surface the cat was urinating/defecating on.
- Cats generally do not like the smell of citrus and will avoid it. Try placing a citrus air freshener or citrus scented cotton balls near the area the cat was soiling.
- If the room is dark, install motion sensor lights.
- Set up barriers (ex. tall baby gates, magnetic screen doors, etc.) or close doors in your home to block access to the rooms where your cat was choosing to urinate/defecate.
If you have additional questions, please contact the Wisconsin Humane Society Behavior Department at asktheexpert@wihumane.org or 414-461-6173.